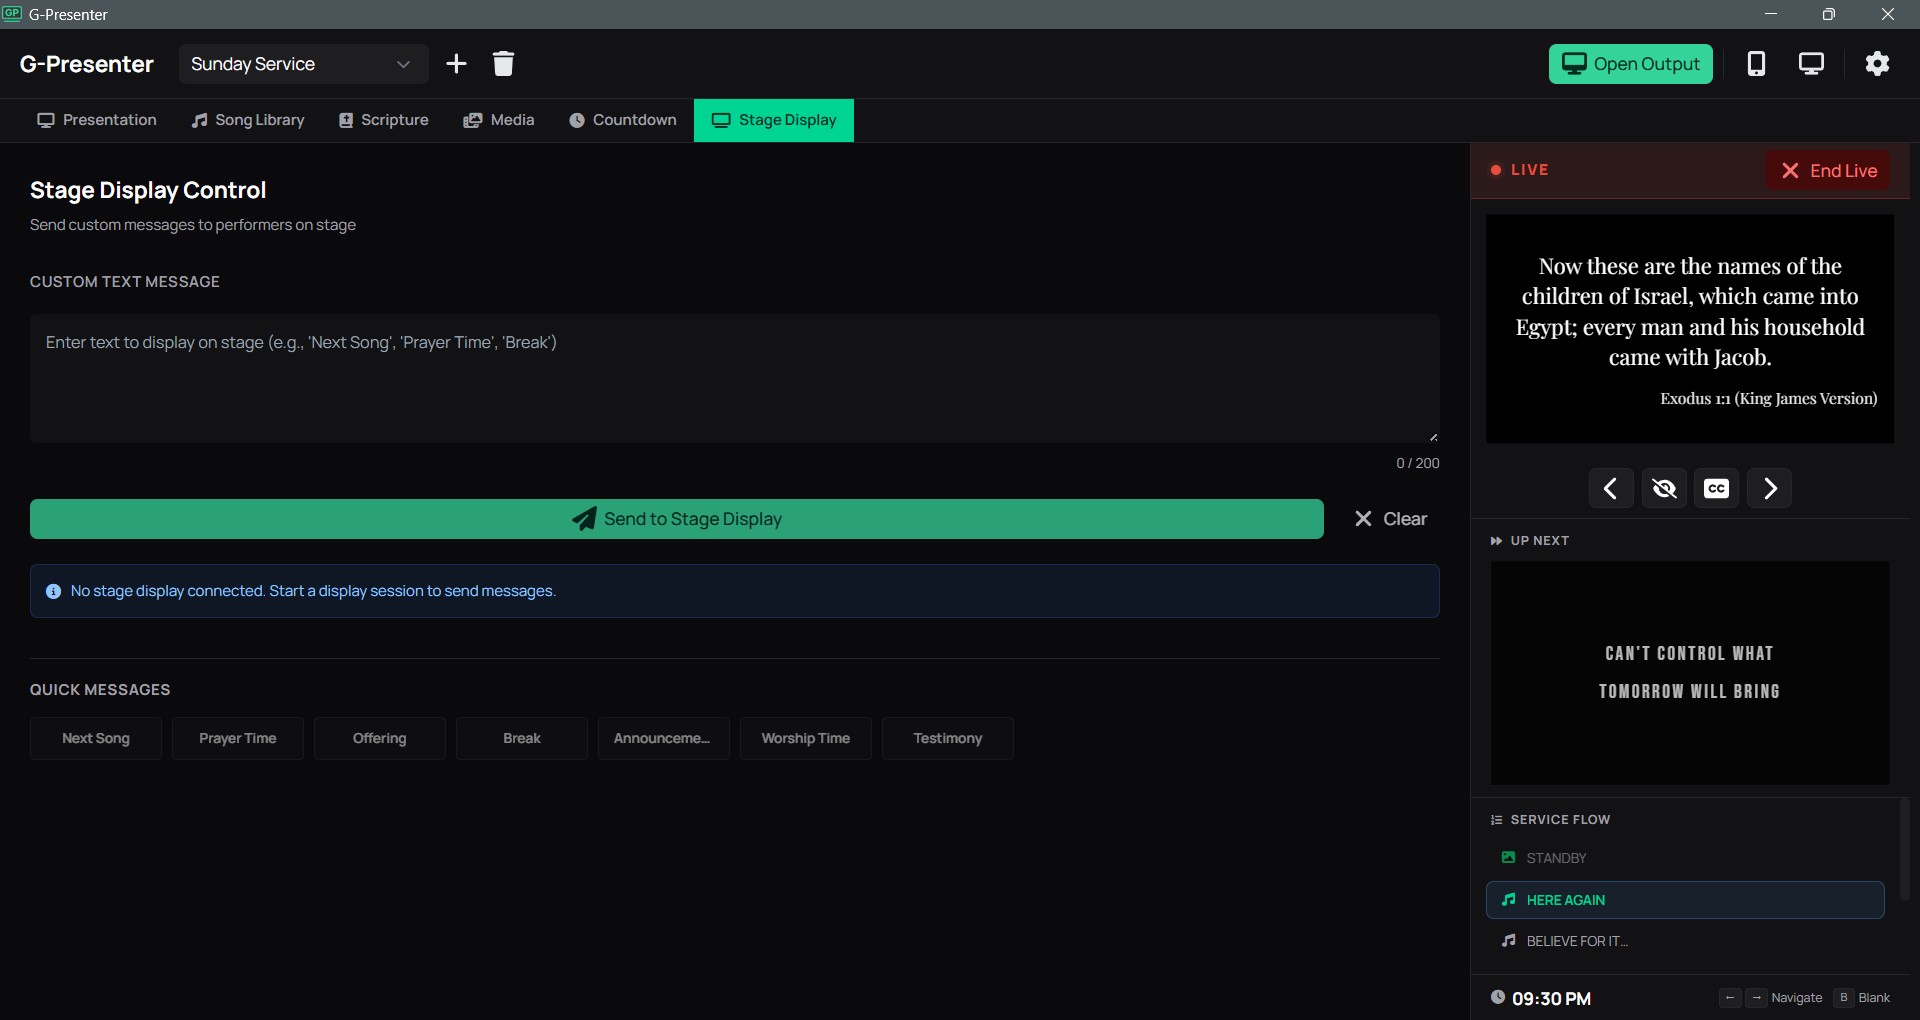
Local-First Worship Software
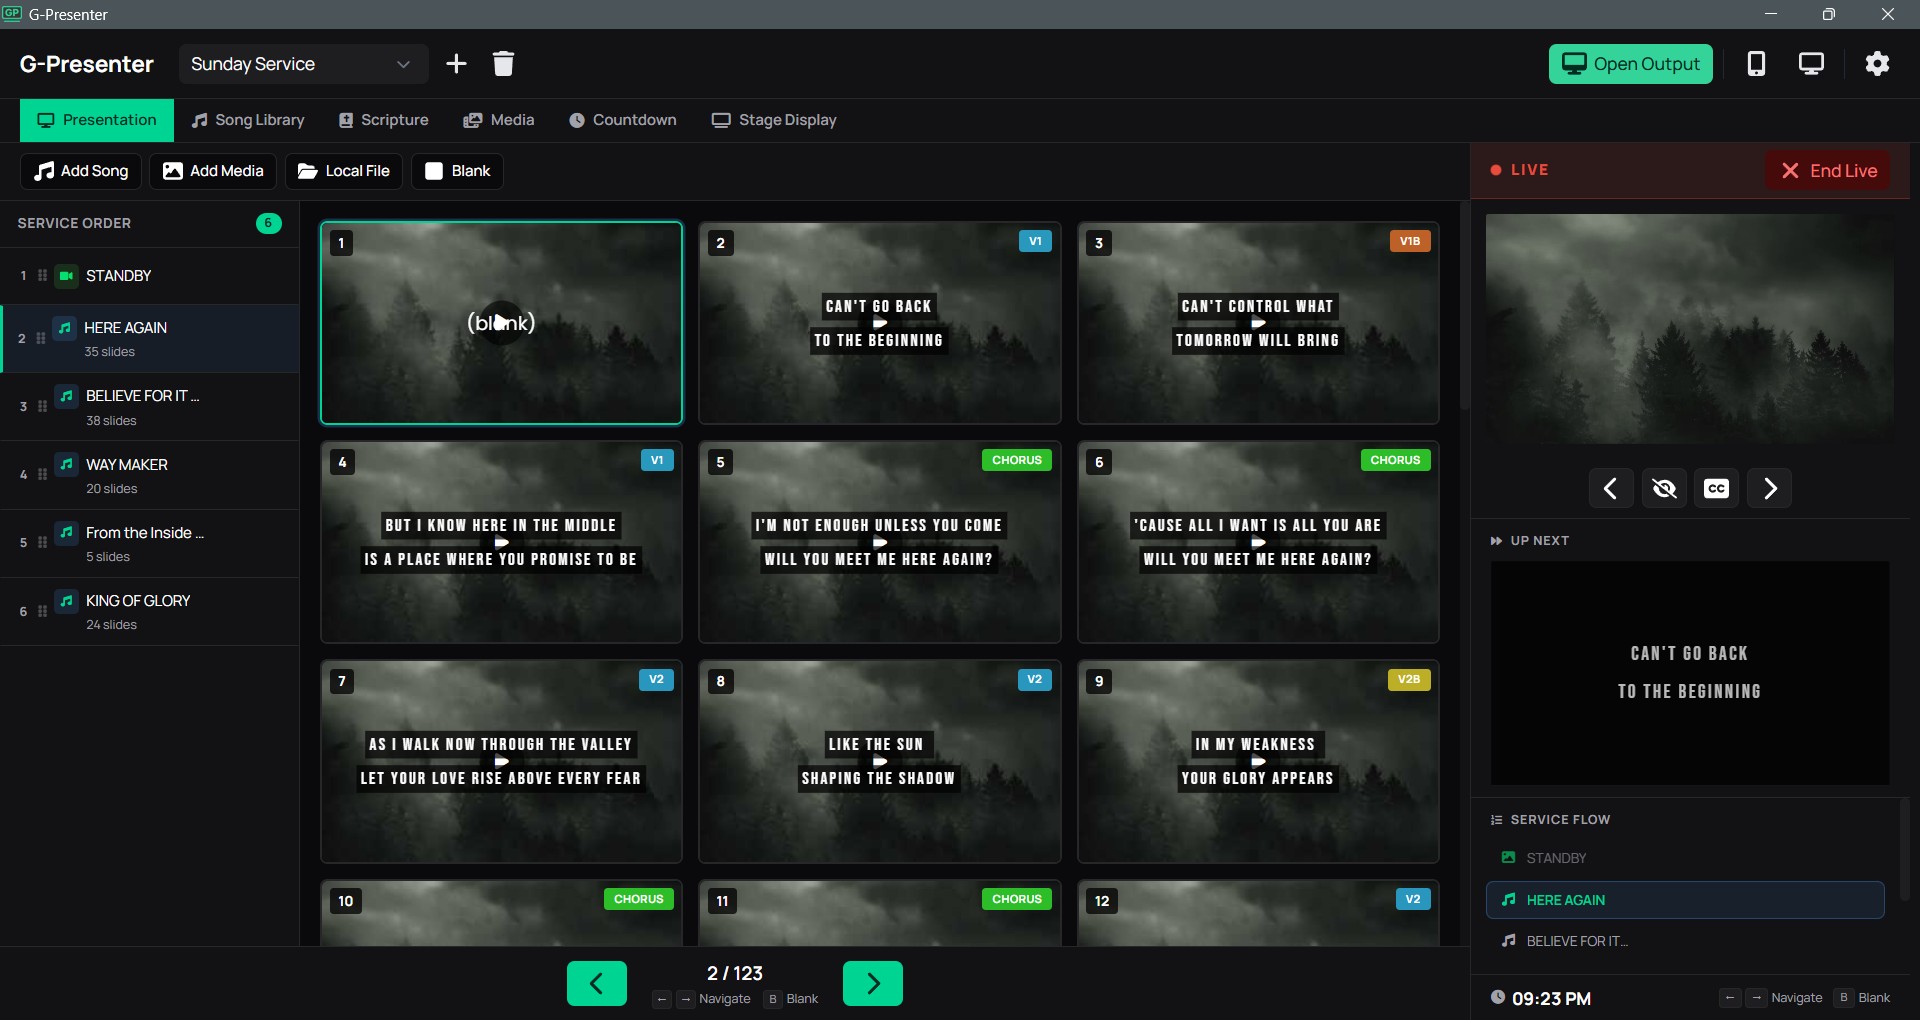
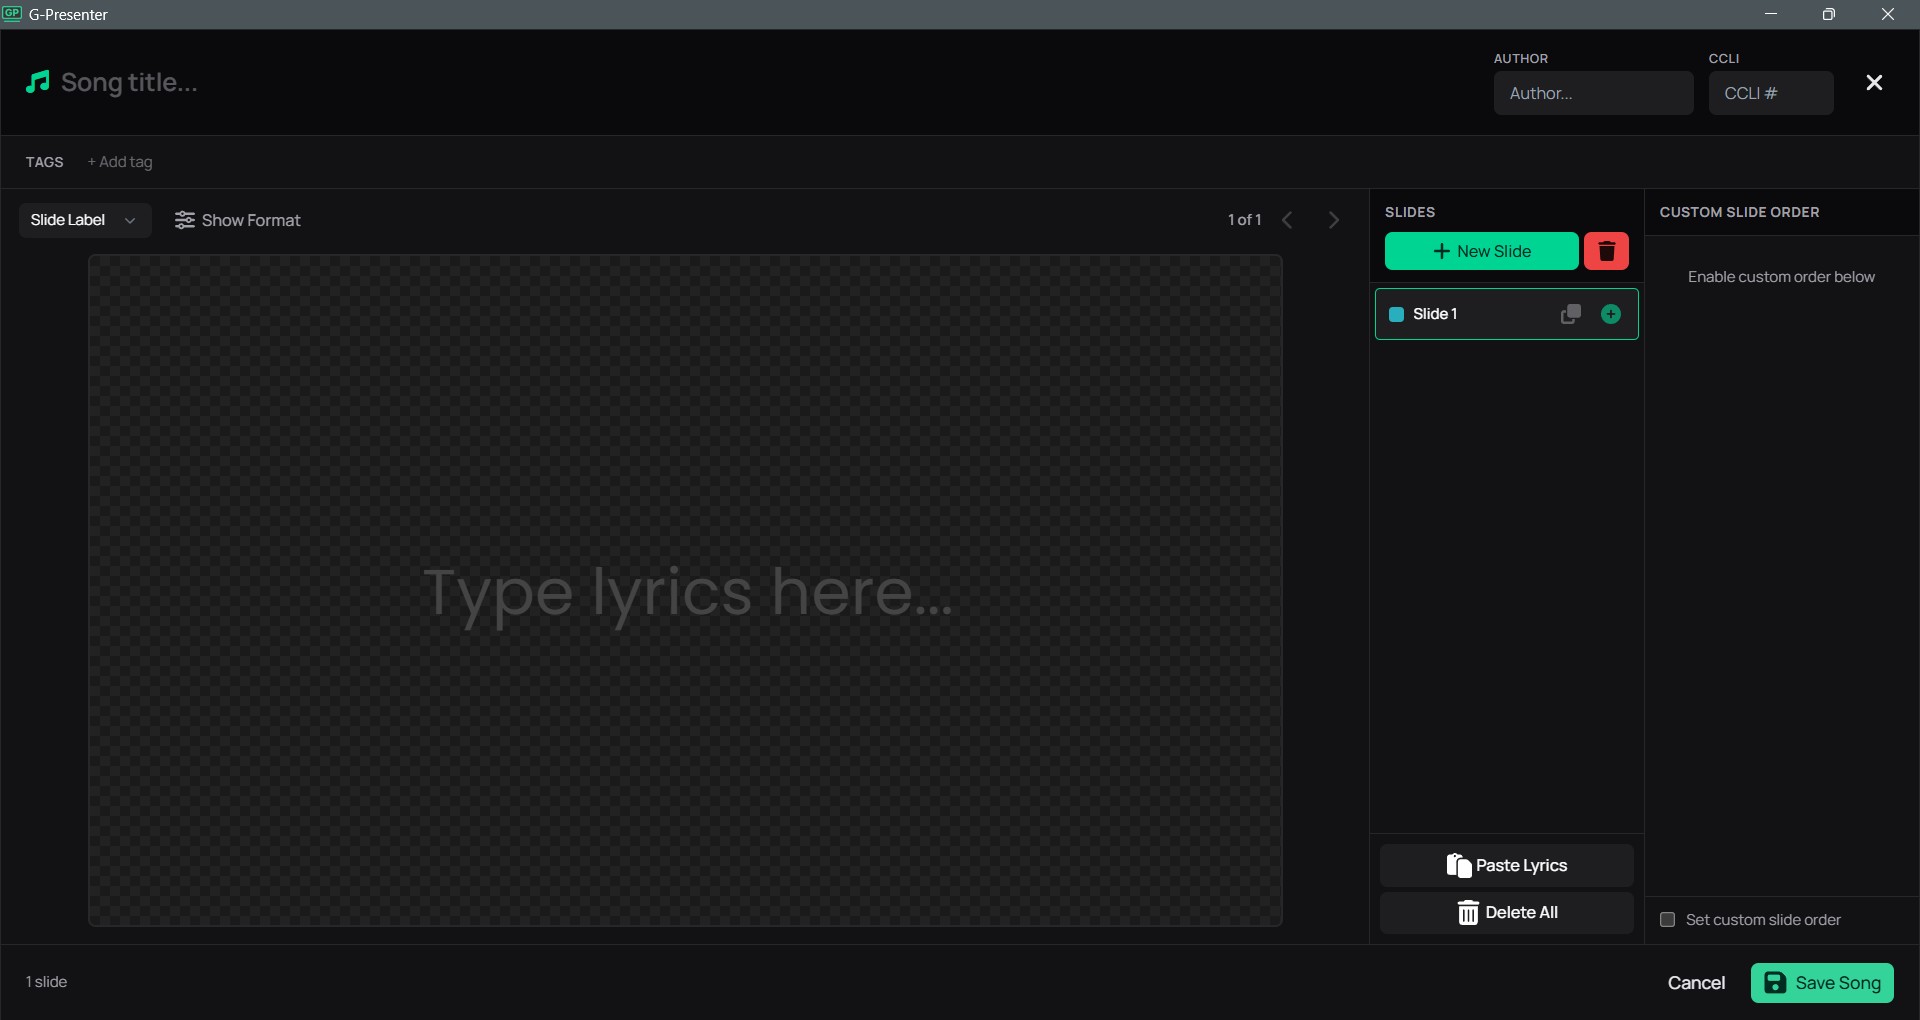
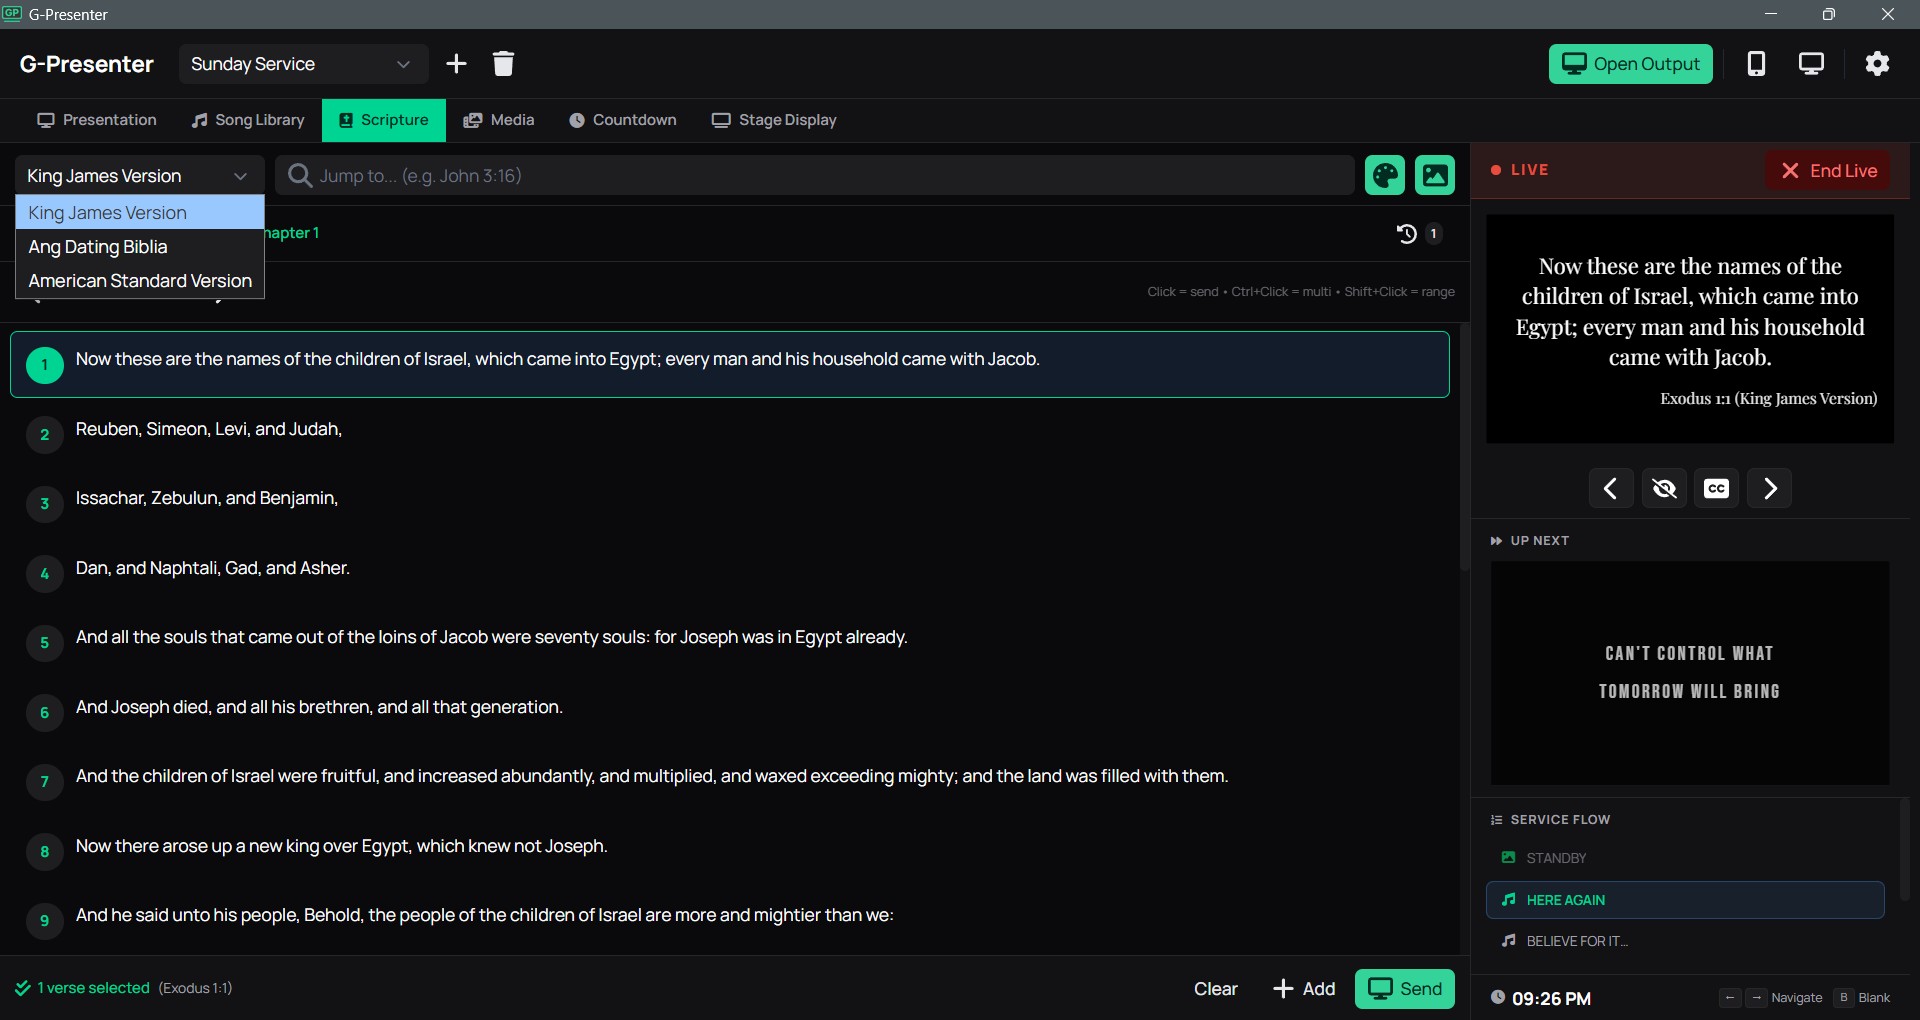
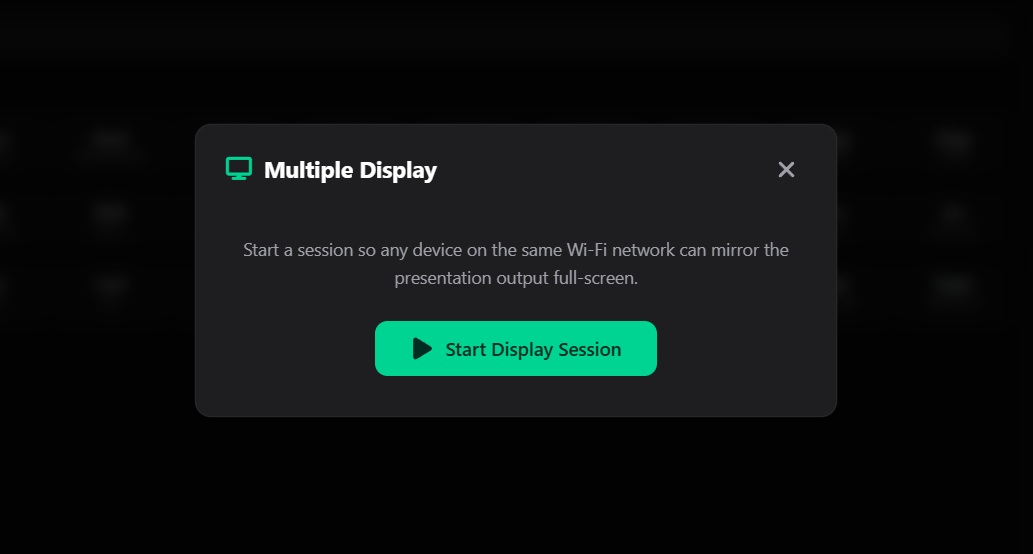
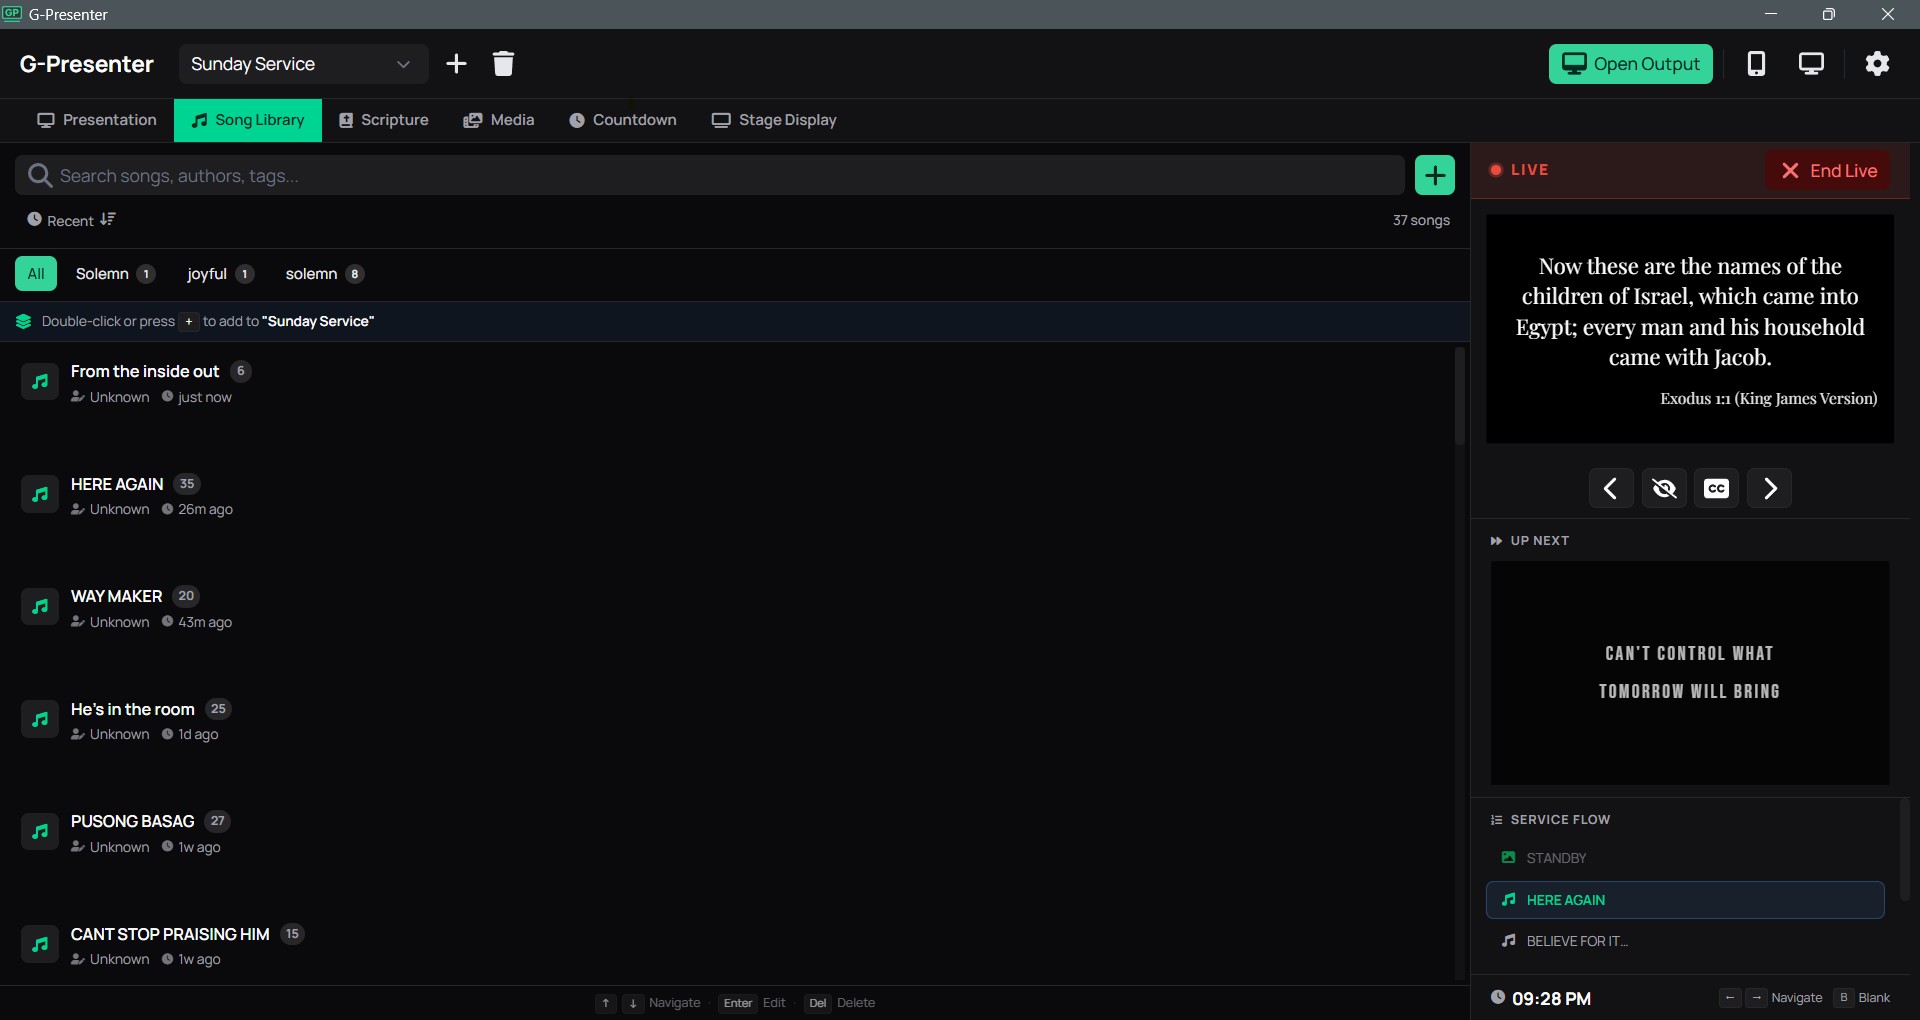
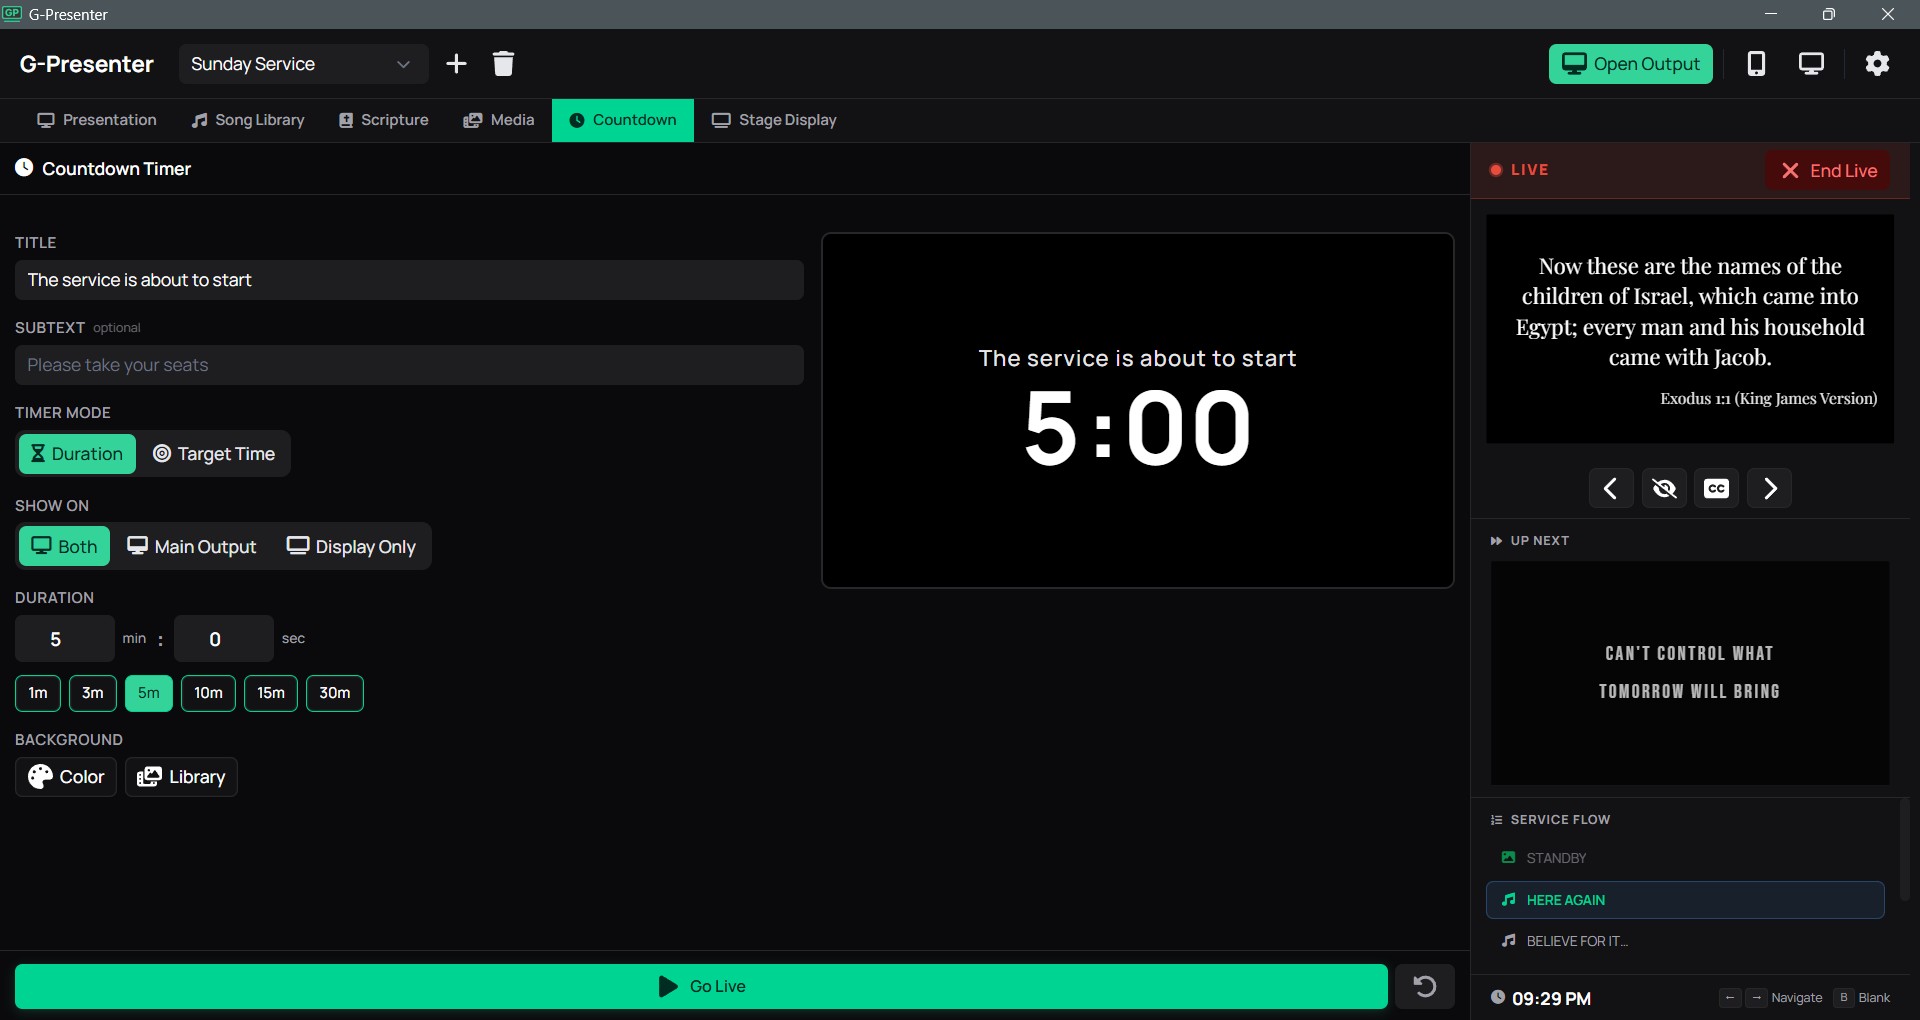
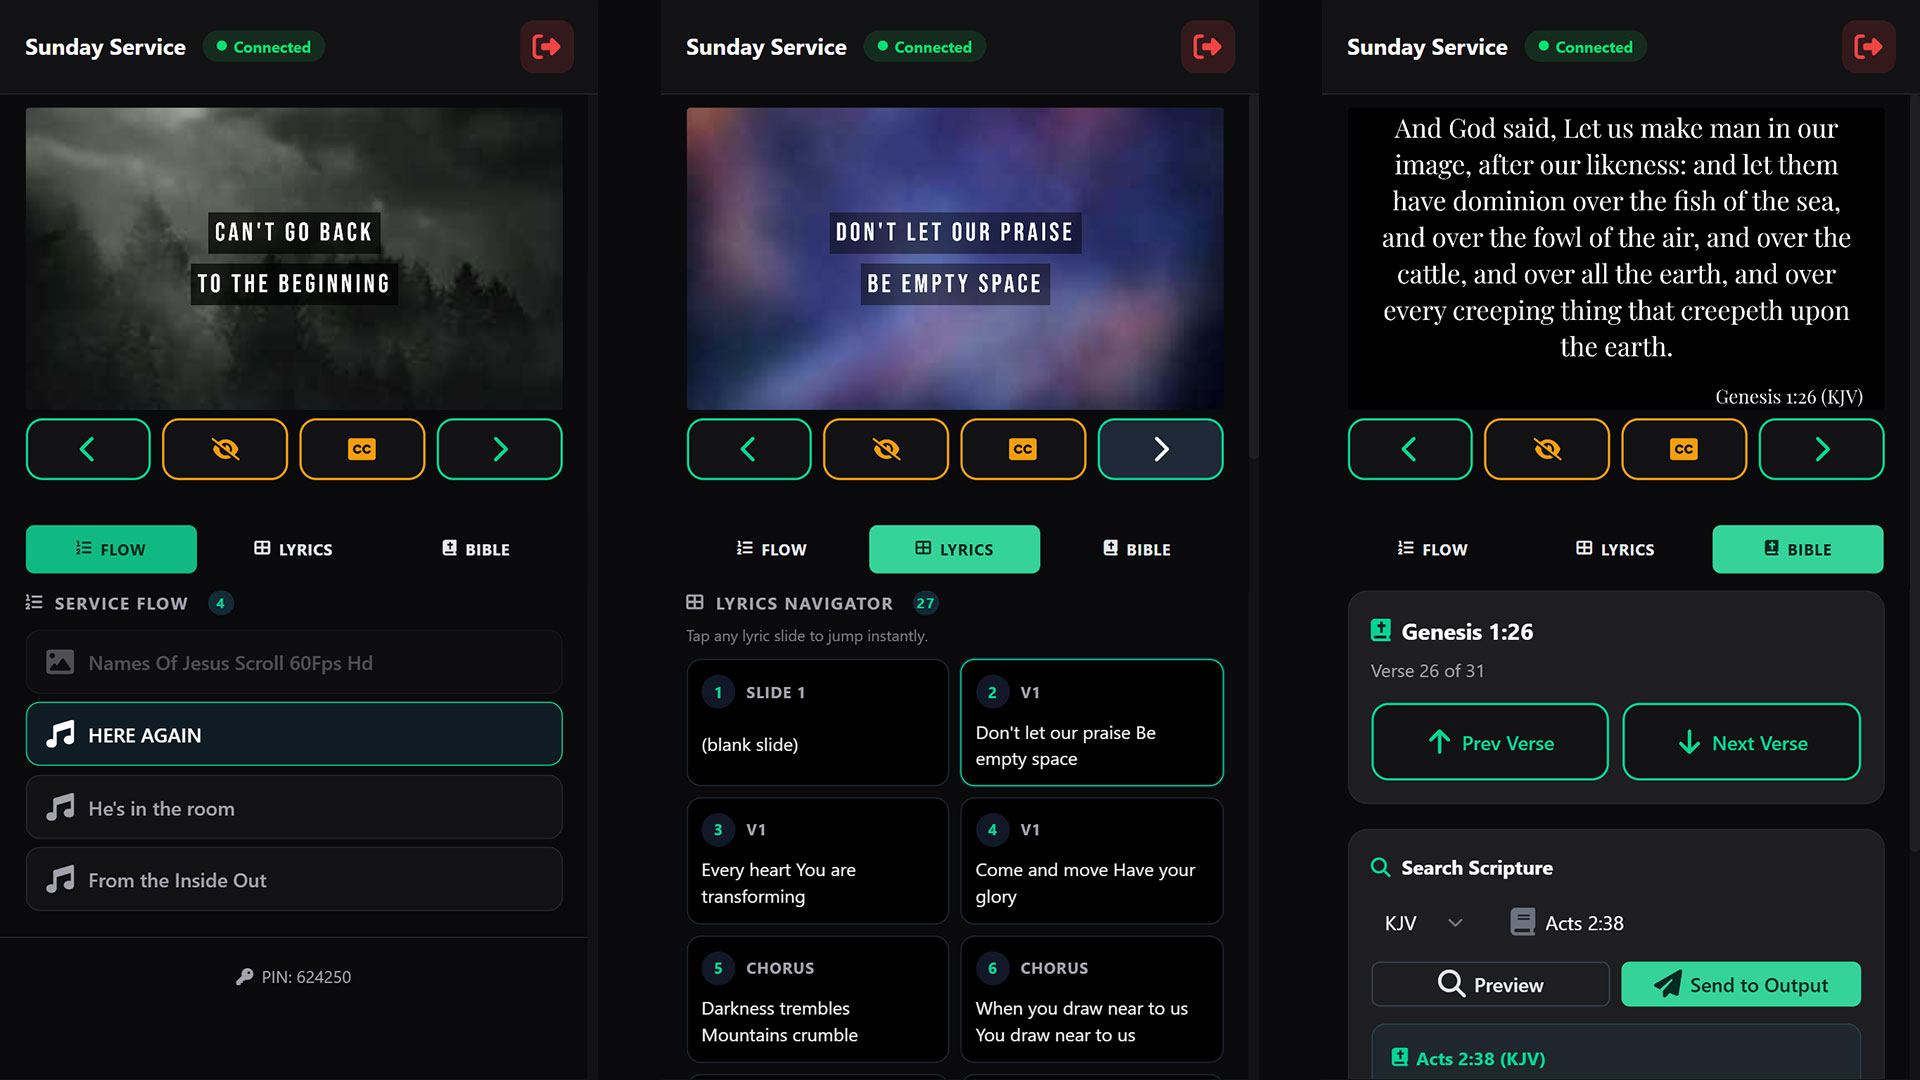
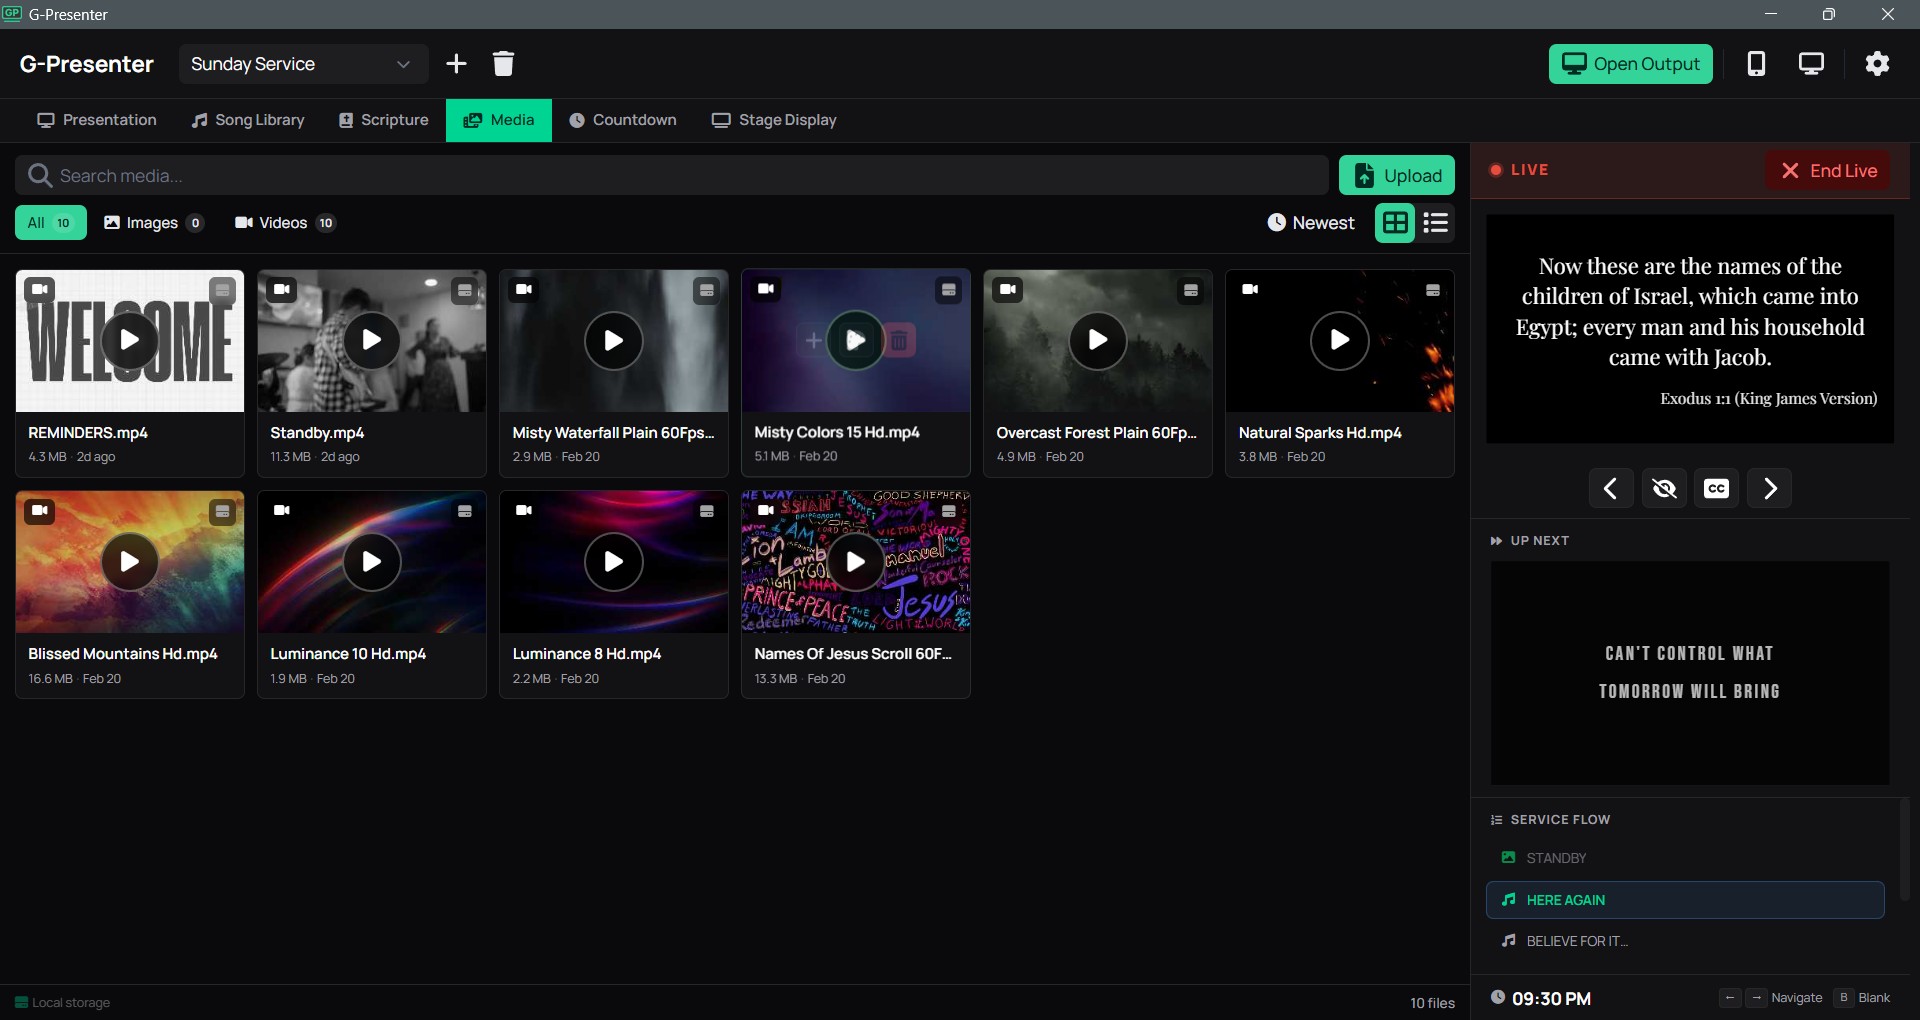
G-Presenter is a worship presentation app built for simplicity. Manage songs, display Bible verses, set backgrounds, and sync to extra screens over your local network. No account required. Nothing stored in the cloud.
No account required. No subscription.
Panasonic Cf53 Bios Password Reset Install
is notoriously difficult because the password hash is often stored in non-volatile memory (EEPROM) that doesn't clear just by removing the main battery . Standard Reset Attempts
Change the Boot Mode from Legacy to (if installing Windows 10/11) or keep it in Legacy for older systems. Set the USB Boot option to Enabled . Go to the Exit menu, select "Save Changes and Exit." 2. Prepare the Installation Media
To ensure stability, download the drivers from the official Panasonic support portal using your specific CF-53 configuration string (e.g., CF-532JCZ7BM) and install them in this exact order:
| Method | Difficulty | Tools Required | Success Rate | Instant? | |--------|------------|----------------|--------------|-----------| | EEPROM Pin Shorting | Moderate | Fine tweezers, conductive wire | ~95% | No (5-10 mins) | | SPI Flash Programmer | High | CH341A, SOIC8 clip, soldering iron | 100% | No (20-30 mins) | | Panasonic Service Dongle | Low (if owned) | Factory dongle | 100% | Yes (1 sec) |
You need drivers. The CF53 hates generic drivers.
Click , apply the changes, and click Next to let Windows automatically create the required system partitions and begin copying files. Part 5: Post-Installation and Panasonic Drivers
Use the release sliders on the side of the unit to pull out the main battery.
Verify the read succeeded by confirming the hex window isn't filled completely with uniform FF FF FF FF or 00 00 00 00 strings.
Flash the patched .bin file back to the chip. Verify the write was successful.